Pin me!

Sunday, January 30, 2011

Celebratory Cake Pops!

Cake Pops are the latest and greatest trend and the perfect sweet treat for any kind of celebration!  I made these candy coated treats for our friend's cocktail party last night. 

We had a great time meeting new people, enjoyed fun finger food and the view from their place was stunning! 

There are hundreds of recipes for cake pops and even more ways to decorate and style them.  Here's what I chose . . .


This is my foolproof method slightly adapted from Bakerella. . . You should definitely experiment with your favorite flavors and combinations.  There's no right or wrong when it comes to this sugary confection!

Ingredients:

  • 1 box cake mix or your own from scratch recipe (cook as directed on box for 9 X 13 cake)
  • 1 can cream cheese frosting (16 oz.).  I made my own, using this recipe
  • 1 container of chocolate candy coating/candy melts (I use the kind for chocolate covered strawberries)
  • Sprinkles, sanding sugar, mini candies
  • wax paper
  • lollipop sticks
Directions:

1. After cake is cooked and cooled completely, crumble into large bowl.
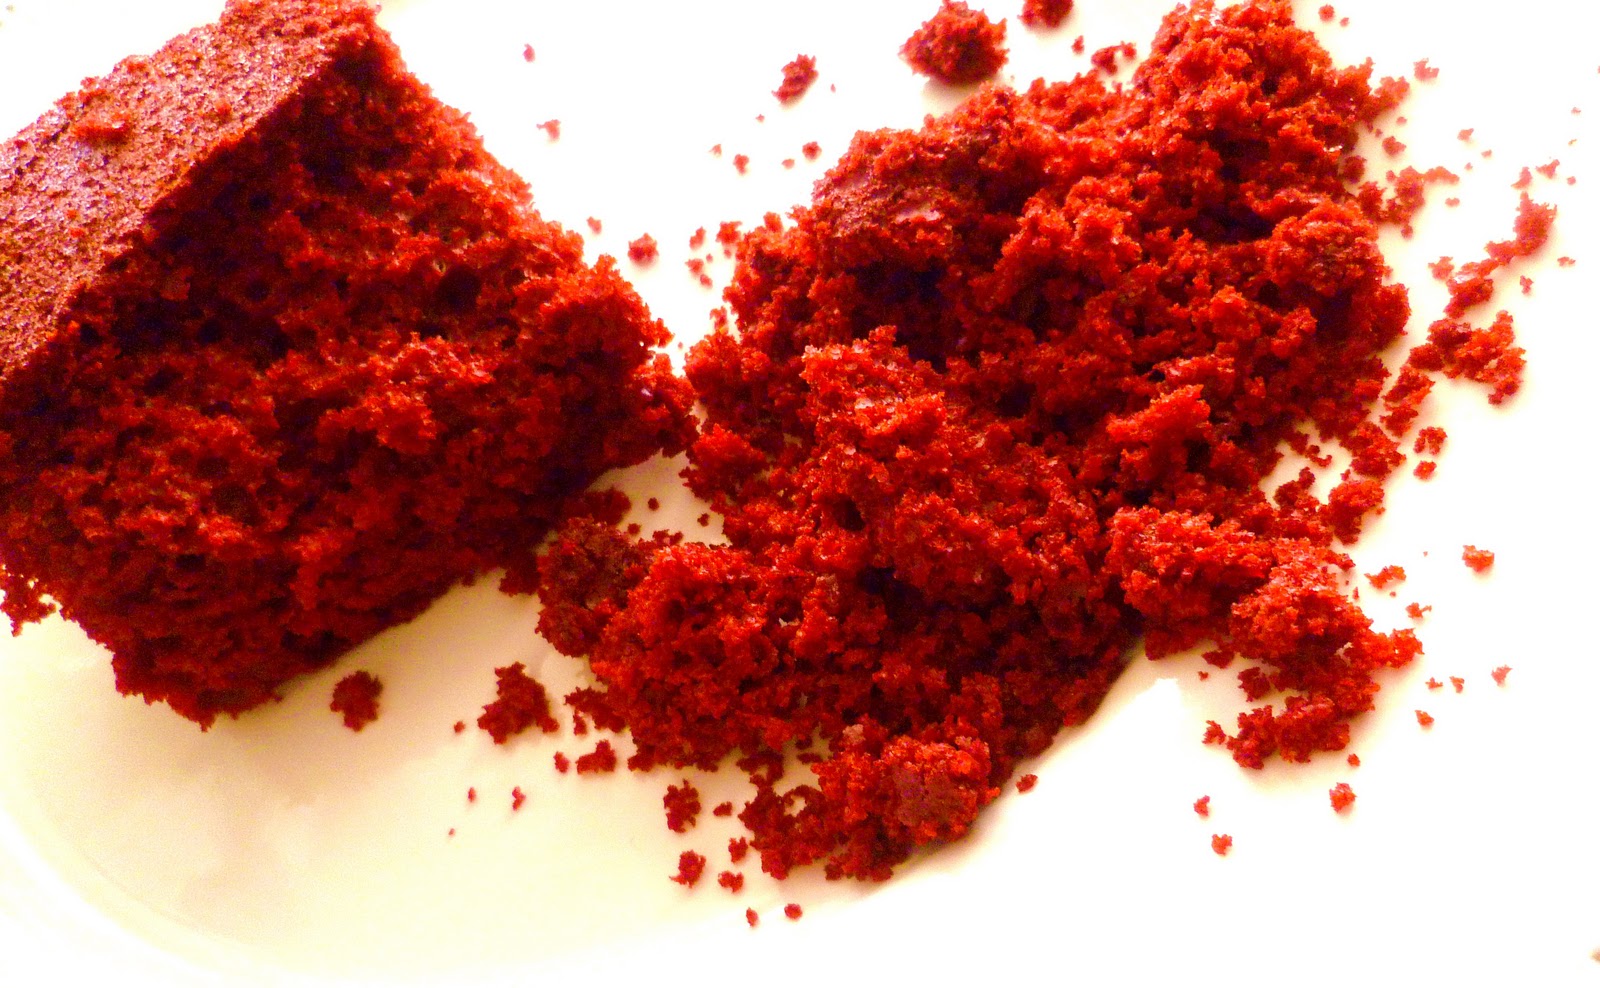
 
2. Mix thoroughly with 16oz  frosting. I did this in a mixer - it gets super messy if you use your hands!
3. Roll mixture into quarter size balls and lay on wax paper. You should get around 50.
4. Insert lillipop stick and chill for several hours.  I have made these a few times and I suggest putting them in the freezer for 30 minutes vs. the fridge.
5. Melt chocolate in microwave per directions on package.
6. Roll balls in chocolate and lay on wax paper until firm.  Do a few at a time so that they stay cold!
7. Cover with sprinkles, sanding sugar, mini candies - whatever your heart desires!
8. Set on wax paper until the chocolate hardens.
9. Optional: Decorate the sticks with ribbon or bows for an extra deliciously stylish look!


Happy Cooking and Happy Styling!
H

Saturday, January 29, 2011

Sweet Strawberry Almond Bars

Last night, we met our dear friend's sweet baby Revanth. . . what better way to mark the occasion than with a sweet treat?!

Running with the theme of simple, stylish desserts; this one is another 4 Ingredient Wonder!


Ingredients:

1/2 Roll Pre-prepared Sugar Cookie Dough (take the short cut; I did!  If you make your own cookie dough, you'll need about 8 oz. to cover an 8x8 dish)
1/2 Cup Seedless Strawberry Preserves (Use any flavor you'd like.  Raspberry, Orange, it all sounds amazing!)
1 teaspoon Cornstarch
1/4 Cup Sliced Almonds
Note to self: add a little almond or vanilla extract to the cookie dough for an extra rich flavor!

Directions:

Pre-heat oven to 350 degrees F.

Break up Cookie Dough and press into the bottom of an 8x8 Glass Baking Dish, pressing it to an even thickness on the bottom of the pan. (I lined mine with some parchment paper for easy removal before slicing)

Bake for 14-17 minutes until golden brown.

In a small sauce pan, whisk Preserves and cornstarch until it reaches a boil.  Turn heat off.

Lightly toast sliced almonds in a small pan to develop flavor (3-4 minutes)

Remove Cookie Dough from oven and spread Preserves  to just shy of the edges.  Sprinkle almonds and press in lightly.

Let this set for 1 hour prior to slicing in to 16 squares.  Serve at Room Temperature


Press the cookie dough into an even layer

Spread preserves and top with toasted almonds while still in the baking dish

Cut, Serve and Enjoy!


Happy Cooking and Happy Styling!

Wednesday, January 26, 2011

Quesidilla Pie

I promised Aditya a new dish for dinner and the day got away from me, as it often does!  The original name of the recipe is Impossibly Easy Quesdilla Pie and it certainly lives up to its name.

Betty Crocker to the rescue!  5 ingredients plus garnish and took less than 5 minutes to put together.


Recipe adapted from Betty Crocker.  My notes in orange.

Ingredients:
  • 1 can (4.5 ounces) Old El Paso® chopped green chiles, well drained (I had an 8 oz. can on hand and used the whole thing - it wasn't too much at all.  In fact, I think 4.5 oz would not give enough of that chile flavor)
  • 2 cups shredded Cheddar cheese (8 ounces)
  • 1 teaspoon chopped fresh cilantro (I omitted this)
  • 3/4 cup Original Bisquick® mix (Reduced fat worked out well)
  • 1 1/2 cups milk (I used 2% and it was still fluffy and great)
  • 3 eggs
  • Scallions for garnish
  • Reduced Fat Sour Cream for garnish
  • Your favorite Salsa
Directions:
  1. Heat oven to 400ºF. Grease 9-inch pie plate. Sprinkle chilies, cheese and cilantro in pie plate.
  2. Stir remaining ingredients until blended. Pour into pie plate.
  3. Bake 25 to 30 minutes or until knife inserted in center comes out clean. Cool 5 minutes.
  4. Garnish with sour cream, salsa and chopped scallions or chives.
  5.  


Happy Cooking and Happy Styling!

Tuesday, January 25, 2011

Sauteed Broccolini

This is a quick and easy way to dress up broccolini or even broccoli for that matter.  Cut the butter in half to make it a little "healthier".  The tang from the garlic and lemon juice makes this side dish feel a little fancier.  Blanching them helped retain their beautiful, vibrant green color and left it with a nice bite.  No mushy veggies here!


Recipe adapted from The Barefoot Contessa

Ingredients:
  • 1 bunch broccolini
  • Kosher salt
  • 2 tablespoons unsalted butter
  • 1/2 lemon, zested (I didn't have fresh lemon, so no zest, I imagine it would kick up the volume!)
  • 1 teaspoon minced garlic (I used the pre minced kind with a bit of the oil it's packed in)
  • 1 tablespoon lemon juice (I used bottled, but fresh would be so much better!!)
  • 1/4 teaspoon freshly ground black pepper
  • 1/2 - 1 teaspoon crushed red pepper
Directions:

Blanch the broccolini in a large pot of boiling salted water for 2 minutes. Drain immediately and immerse in a bowl of ice water.

Melt the butter in a large saute pan. Add the lemon zest and garlic and stir. Drain the broccolini and add it to the garlic mixture and heat for 2 minutes.

Add the lemon juice, 1/2 teaspoon salt and the pepper, red pepper, and toss well before serving.

Happy Cooking and Happy Styling!

Cheesy Cauliflower Gratin

Cauliflower is one of my favorite vegetables and one my husband is actually happy to eat (bonus!)  I usually roast it, but we had some friends from out of town come over for dinner and I wanted to dress it up a bit.  So naturally I turned to The Barefoot Contessa and whipped up her cheesy cauliflower gratin.  The result. . .crispy topping, cheesy filling and soft, creamy cauliflower underneath it all. 


I would add a bit more spice the next time around. . . but all in all, it was a great side dish for a cold, winter evening with friends.


Original recipe from Ina Garten can be found here.  My additions in orange.

Ingredients:

  • 1 (3-pound) head cauliflower, cut into large florets
  • Kosher salt
  • 4 tablespoons (1/2 stick) unsalted butter, divided
  • 3 tablespoons all-purpose flour
  • 2 cups hot milk  (I used 1 cup 2% milk and 1 cup whole milk)
  • 1/2 teaspoon freshly ground black pepper
  • 1/4 teaspoon grated nutmeg
  • 3/4 cup freshly grated Gruyere, divided
  • 1/2 cup freshly grated Parmesan (I used pecorino romano becuase I had it on hand)
  • 1/4 cup fresh bread crumbs (I used whole wheat bread crumbs. .  . panko would be delicoius as well)
  • I would suggest adding 1-2 teaspoons of crushed red pepper to the milk mixture to give it a little kick
Directions:

Preheat the oven to 375 degrees F.

Cook the cauliflower florets in a large pot of boiling salted water for 5 to 6 minutes, until tender but still firm. Drain.

Meanwhile, melt 2 tablespoons of the butter in a medium saucepan over low heat. Add the flour, stirring constantly with a wooden spoon for 2 minutes. Pour the hot milk into the butter-flour mixture and stir until it comes to a boil. Boil, whisking constantly, for 1 minute, or until thickened. Off the heat, add 1 teaspoon of salt, the pepper, red pepper, nutmeg, 1/2 cup of the Gruyere, and the Parmesan.

Pour 1/3 of the sauce on the bottom of an 8 by 11 by 2-inch baking dish. Place the drained cauliflower on top and then spread the rest of the sauce evenly on top. Combine the bread crumbs with the remaining 1/4 cup of Gruyere and sprinkle on top. Melt the remaining 2 tablespoons of butter and drizzle over the gratin. Sprinkle with salt and pepper. Bake for 25 to 30 minutes, until the top is browned. Serve hot or at room temperature.  Let it rest for a few minutes before serving so that everything can firm up a bit.


Prior to baking. . . I added a smidge extra cheese on top. . . why not?!

Golden Brown, Bubbly and Delicious!


Happy Cooking and Happy Styling!

Sinful Strawberry and Mascarpone Filled Cupcakes with a Sweet Glaze

I had a few girlfriends over last weekend to make Valentine's Day cards for the Chidren's Hospital and local Nursing Home.  We had a great time and made 120 cards! 

Every crafter needs a break, and these cupcakes were the perfect sweet treat for a bunch of sweet girls!


The glaze is tooth achingly sweet, so I wouldn't recommend licking the spoon. . . but taking a bite of everything together was super delish.

I follwed a recipe from Giada DeLaurentis found here.  My notes in pink!

Ingredients:
  • 1 box vanilla cake mix or your favorite from scratch recipe
  • 1 (8-ounce) container mascarpone cheese, chilled
  • 1/2 cup thawed and drained frozen strawberries (I used closer to 2/3rds for an extra strawberry kick)
  • 1/4 cup sugar, plus 1/2 cup
  • 1 tablespoon lemon juice
  • 1/4 cup water
  • 1 teaspoon vanilla extract
  • 2 cups confectioners' sugar


Directions:

Special equipment: 1 muffin tin, pastry bag with small tip


Make the cupcakes according to package instructions. Lightly grease the muffin tin and fill the batter almost to the rim of each muffin cup. Bake according to package directions and let cool. (I used paper liners instead of spraying the muffin tin and filled each cup 2/3rds full)


In a food processor combine the mascarpone cheese, thawed strawberries, 1/4 cup sugar, and lemon juice. Process the mixture until smooth. Transfer the strawberry mixture to a pastry bag fitted with a small tip. Push the tip gently into the bottom of a cooled cupcake and squeeze in the strawberry mixture until the cupcake plumps. You know you've filled it too much if the top splits. . . Continue with the remaining cupcakes.  If you don't have a pastry bag with tip, you can always cut the cupcake in half and spread the filling or cut a piece out of the center and fill. 


In a small saucepan bring the 1/2 cup sugar, water, and vanilla extract to a simmer over medium heat. Simmer until the sugar is dissolved. In a medium bowl combine the vanilla syrup with the confectioner's sugar. Stir until smooth. Working quickly, use a rubber spatula spread the icing on the top of the cupcakes. If the icing begins to firm up, place in the microwave for a few seconds to warm up again.  I added a drop of pink food coloring gel (NOT liquid) to give it that Valentine's Pink look! 

The glaze hardens pretty quickly.  I stored these in the fridge and took them out 1 hour prior to serving.

Happy Cooking and Happy Styling!

Caprese Pesto Margherita Bites


I've been getting a lot of coupons from Pillsbury lately and I'm not going to lie, sometimes it's easier to just buy their dough! 

These little Caprese Bites are easy and stylish which is always a winning combination in my book!


I made 2 variations on the recipe below and both were equally delicious!  The second version uses Grands Flaky biscuits.  Separate each biscuit into 2 pieces so that you end up with 20 rounds.  Fill with pesto, mozzerella and bake 14 minutes.  Top with diced tomato.  I'll post picutres of the second version soon!

Recipe adapted from Pillsbury.  How to Video 
My additions in orange

Ingredients:
  • 1 container (8 oz) fresh mozzarella ciliegine cheese (24 cherry-size balls) Drain really well and pat dry with a paper towel
  • 1 can (11 oz) Pillsbury® refrigerated original breadsticks (12 breadsticks) Keep refrigerated until ready to use
  • 3 tablespoons basil pesto
  • 1 tablespoon Olive Oil
  • 2 tablespoons grated Parmesan cheese
  • 24 frilled toothpicks
  • 24 grape or cherry tomatoes
  • 24 fresh basil leaves I totally forgot the basil and they still tasted great.  I think a little basil confetti would have looked pretty on the platter. . . next time!
Directions:

  • Heat oven to 375°F. Spray 24 mini muffin cups with Crisco® Original No-Stick Cooking Spray. Drain cheese balls; pat dry with paper towels.
  • On work surface, unroll dough; separate into 12 breadsticks. Cut each breadstick in half crosswise; press each half into 3x2-inch rectangle.
  • Spread rounded 1/4 teaspoon of the pesto lengthwise down center of each dough rectangle. Place 1 cheese ball on each rectangle. Carefully stretch dough around cheese; pinch edges to seal completely. Place seam sides down in muffin cups. Brush with oil (I sprayed them with Olive Oil flavored Pam) ; sprinkle with Parmesan cheese. (I used some pecorino romano since I had it on hand)
  • Bake 14 to 20 minutes or until deep golden brown. Cool in pan 5 minutes. Remove from pan. With each toothpick, spear tomato and basil leaf; insert into cheese ball. Serve warm
  • I used a less pesto than listed on the recipe
    All rolled up!  Place these seam side down into the mini muffin tin.
    All lined up and ready to bake.  Some cheese and pesto may ooze out.  Don't worry, they will harden after cooled.
    Browned and Ooey Gooey Delicousness
    These bites are best served warm.  Keep them at a low temperature in the oven and skewer them right before serving so that the tomato stays cool and in tact.
    Happy Cooking and Happy Styling!